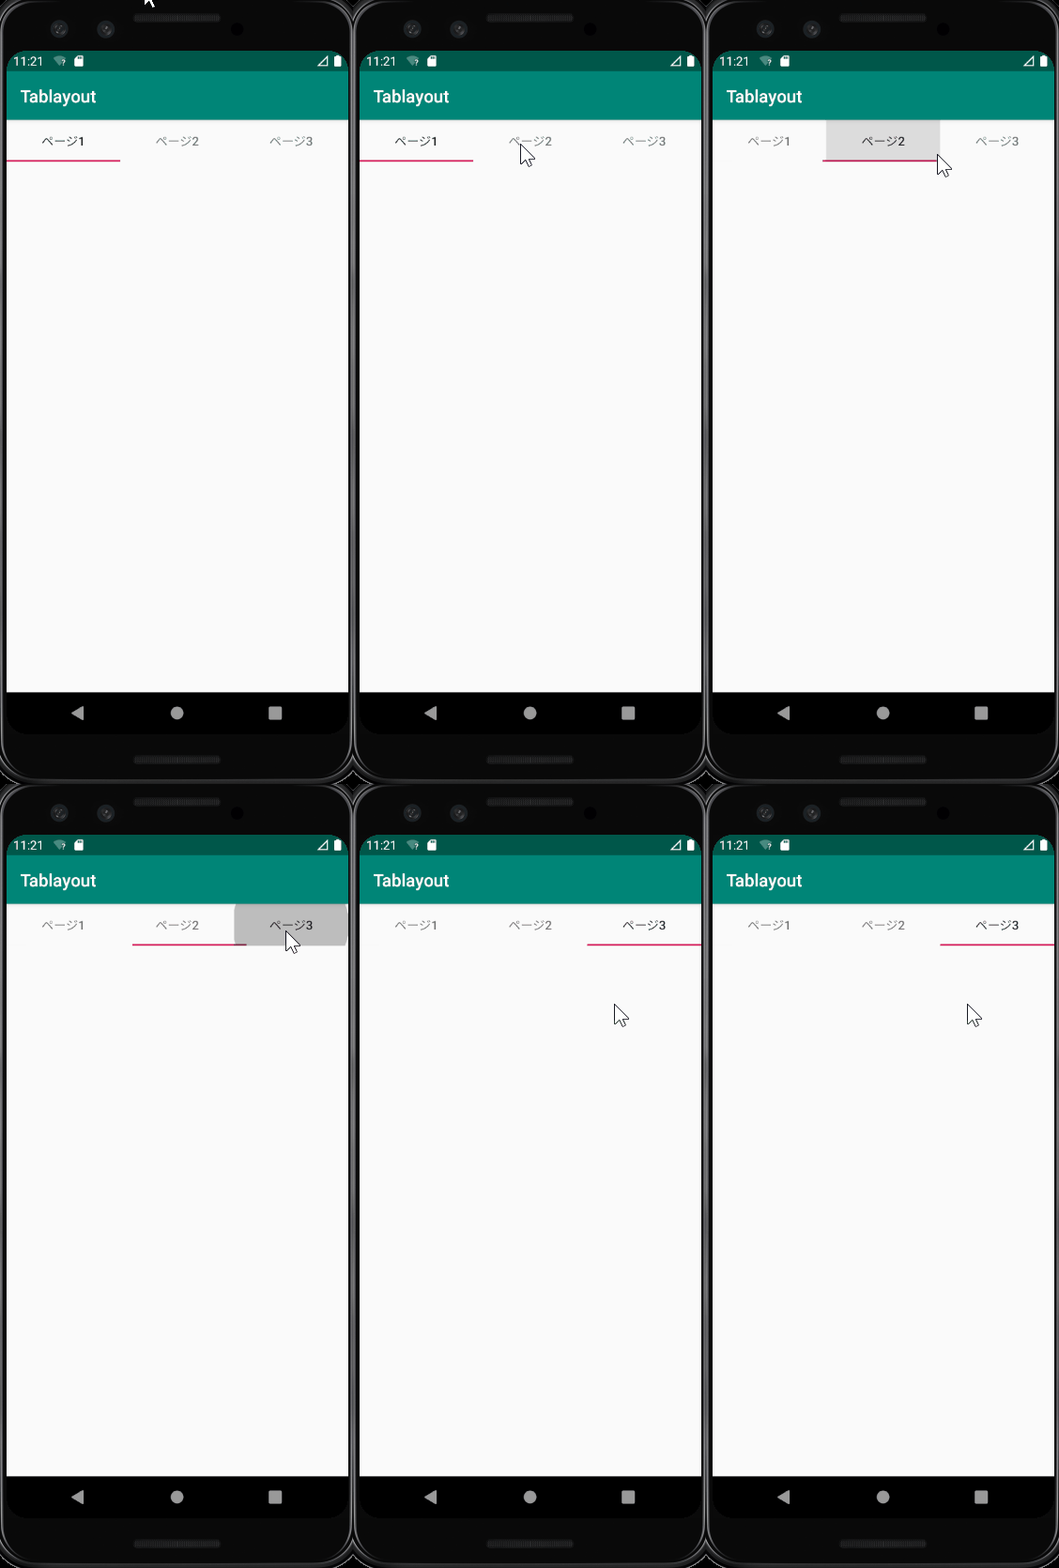
AndroidのTabLayoutを使ってみたのでメモ。
TabLayoutとは?
こういうの↓。

▲タイトルバーの下にタブメニューを作れるView。
TabLayoutの作り方
XMLに以下を追加する。
activity_main.xml
<?xml version="1.0" encoding="utf-8"?>
<com.google.android.material.tabs.TabLayout android:layout_width="match_parent"
    android:layout_height="wrap_content"
    xmlns:android="http://schemas.android.com/apk/res/android">

        <com.google.android.material.tabs.TabItem
            android:layout_width="wrap_content"
            android:layout_height="wrap_content"
            android:text="ページ1" />

        <com.google.android.material.tabs.TabItem
            android:layout_width="wrap_content"
            android:layout_height="wrap_content"
            android:text="ページ2" />

        <com.google.android.material.tabs.TabItem
            android:layout_width="wrap_content"
            android:layout_height="wrap_content"
            android:text="ページ3" />
    </com.google.android.material.tabs.TabLayout>
MainFragment.java
public class MainActivity extends AppCompatActivity {

    @Override
    protected void onCreate(Bundle savedInstanceState) {
        super.onCreate(savedInstanceState);
        setContentView(R.layout.activity_main);
    }
}
コメント